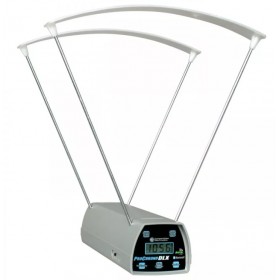
Replace the battery with caution, as the small connectors and parts in the timer can easily be damaged if mishandled.
Remove the small screws from the back of the timer, and then using a flat blade knife, pry open the two halve of the timer. Try to unlock both sides before gently pulling them apart – you want to pull the halves straight away from each other, not at an angle, as there are two sets of plugs that are being unplugs as you separate the parts.
** In the oldest models, there are wires connecting the two halves (first and second production only, for timers dating back to June-July 2006). In this case do not separate the parts too far apart – as you do not want to pull the wires loose.
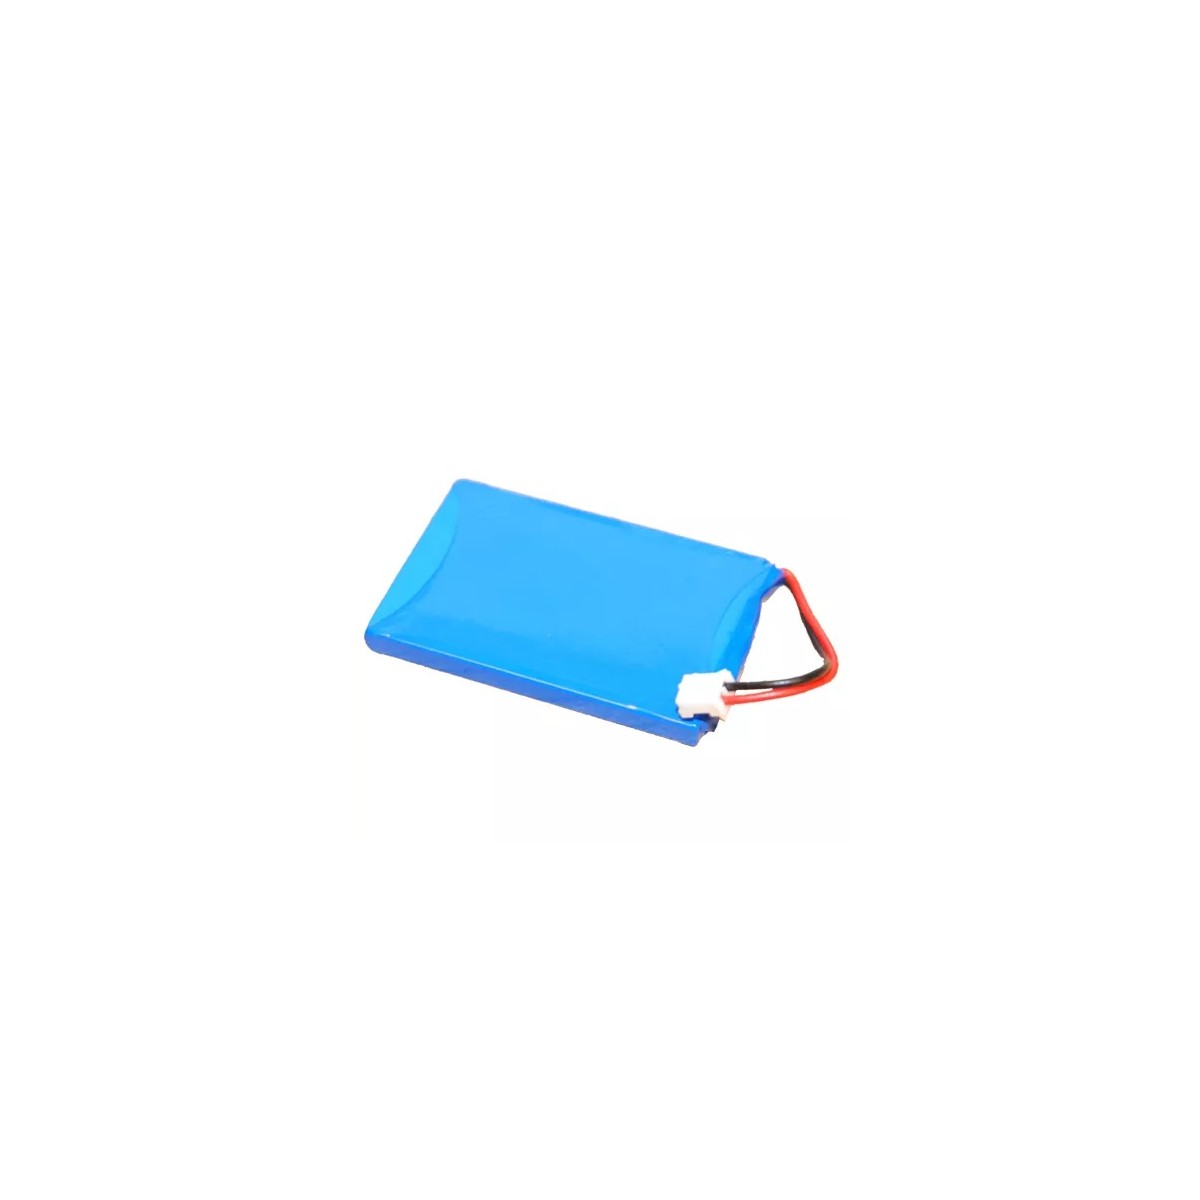
Unplug the old battery, and insert the new one. Use a piece of double sided tape or warm glue to hold it in place so it does not rock around. Assemble the timer again, pay attention to align the plugs correctly, as well as the small plastic lip between the top “Start” and “Review” buttons. Press the two halves together until they click into place, and reassemble the screws.
Do not over tighten the screws!
Dispose of the old battery according to regulation.