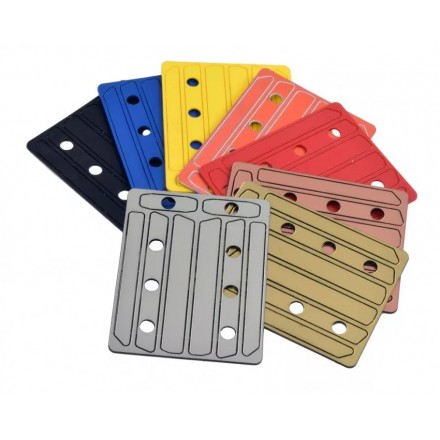
This is a complete set of Alpha-Xi Pouch Inlays in the color of your choice.
These inlays will fit into all the various pockets on the Alpha Xi pouch body. check the fit first for all pieces before removing the 3M tape from the back. Most pockets are unique and require their specific piece. Do not glue an insert in the pocket you plan to attach the Ball Joint to.
Please note that these inlays have a protective transparent film on their front and 3m adhesive tape cover on their back. Both should be peeled off before installation..
In order to install the inlays do the following:
- Carefully break the pieces out of their frame. There are several small bridges holding them in place which can be broken by hand.
- If you wish, you can use a knife to clean off the tails left by the bridges, but these won’t really be visible once installed.
- Check you have the correct inlay in hand for the pocket you are addressing. Peel off the transparent film from the front, as well as the 3M adhesive cover from the back.
- Position each inlays into their correct pockets in the pouch body and fit them in place.
Should you wish you remove the inlays after installation, you can do so using the small holes drilled through the pouch body. In order to access these holes, you will need to remove all plastic spacers first. Then, using a sharp tool (like a small hex key) you can push on the inside of the inlay until it comes loose in the corner. Then, gently work it out of its pocket. Note that the inlay may break when removed.